Affiliate Disclosure: This review contains affiliate links. If you purchase through these links, we may earn a small commission at no extra cost to you. This helps support our testing work.
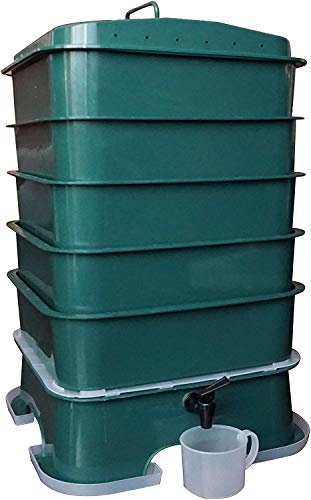
After years of running homemade worm bin systems, I’ve finally taken the plunge into pre-fab territory — and the VermiHut Plus 5-Tray Worm Composter is first up for testing. The question I really want to answer: can it beat what I’ve cobbled together myself?
Needs to be used under shelter. However, has excellent airflow, is exceedingly easy to use and can be put together in minutes.
Key features
- Type: Worm composter (vermicomposter)
- Trays: 5 (expandable)
- Dimensions: 43.2 x 43.2 x 83.8cm
- Wall thickness: 3.9mm
- Insulation: None
🌱 You’ll love the VermiHut Plus if: You want a quick, ant-free solution that’s easy to put together and has excellent airflow — especially if you’re keeping it in a sheltered spot like a garage, shed, or polytunnel.
Skip this if: You’re looking for a bin that can sit outside exposed to the elements year-round.
Alternatives: If you’d rather go DIY, take a look at my homemade worm bin guide for a budget-friendly alternative.
Comparing your compost bin options?
See how the VermiHut Plus stacks up against other top-rated composters in our guide to compost bins..
Unboxing & first impressions
The VermiHut arrived in a medium-sized box — easy enough to carry round to the back of the garden. (A stark contrast to another bin I’m simultaneously reviewing, the Thermo King, which was seriously heavy.)
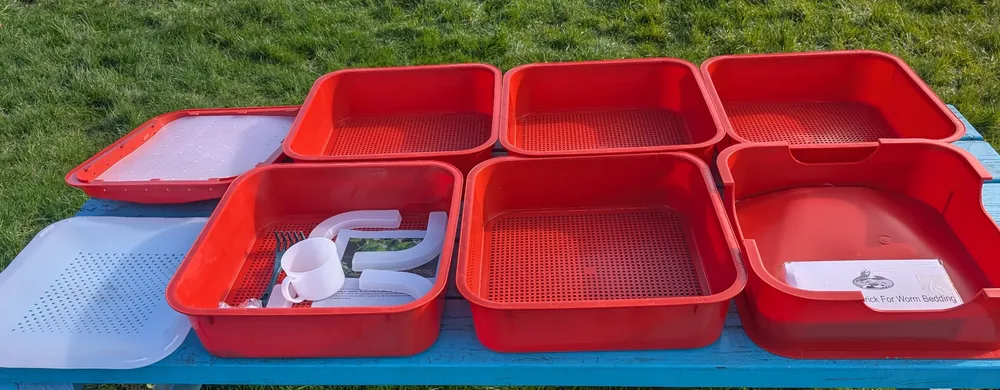
Given the size of the box, I was genuinely surprised by just how much was inside. When I spread everything out on my outdoor picnic table, it took up pretty much the entire surface.
Build quality: light but functional
The build quality seems good, but it’s noticeably light. I was assembling on a windy day, which eventually forced me to move inside my polytunnel — parts were genuinely getting blown off the table.
Measuring the wall thickness with calipers, I got 3.9mm. That’s on the thin side, and something I’ll be keeping an eye on for long-term durability. For a protected environment — a garage, a shed, a polytunnel — I think it’ll be absolutely fine. But I wouldn’t leave it exposed to the weather and expect it to hold up for years.
My family has a strange aversion to sensible household additions (worms, mushroom farms, woodlice, pet snakes — all firmly vetoed), so mine is going in the polytunnel for now. Once spring arrives and temperatures climb, it’ll need to move out, and I’ll need to think carefully about where it goes.
One small gripe: I’d like the first tray to fit a little more snugly into the base. It’s not a dealbreaker, but it’s the kind of thing you notice when everything else fits together well.
Design features worth knowing about
The airflow is the standout feature for me. Four large holes in the base funnel air up through the bedding — clearly superior to my homemade bins, which have a tendency to get overly wet. If moisture management has been a frustration for you, this design addresses it directly.
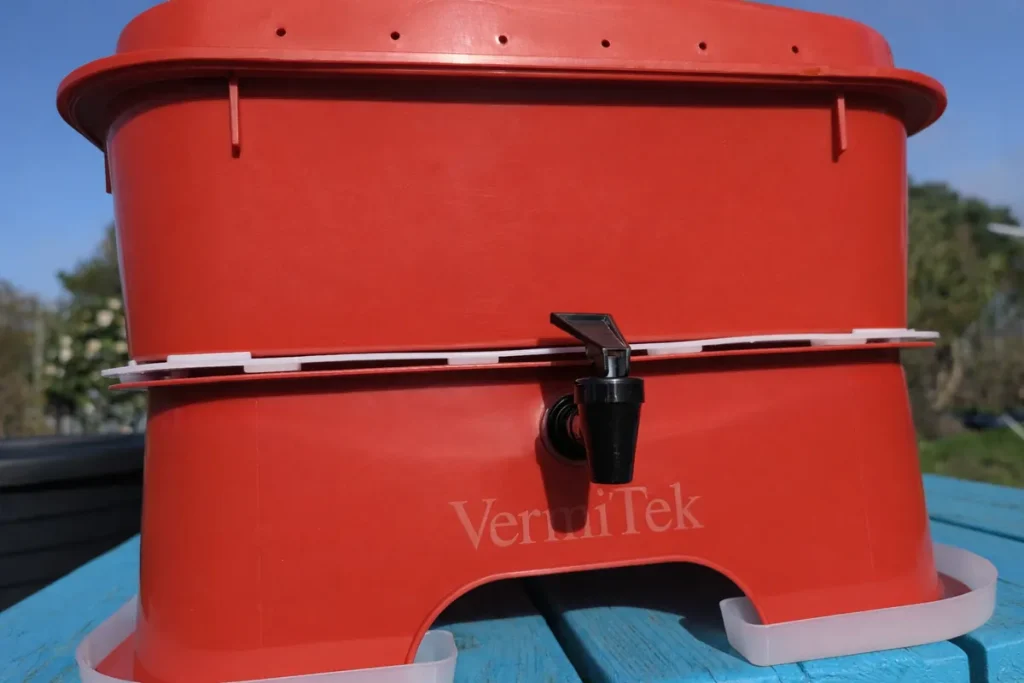
The four legs are designed to sit in small water-filled traps, which stop ants from climbing up and colonising the bin. I haven’t had an ant problem in my homemade setup, but I’ve heard enough horror stories to appreciate the prevention. It’s one of those features you’ll either never think about — or be very grateful for.
A white worm saver sits over the base, allowing worm juice and castings to drop down into the collection tray while keeping the worms safely in their bedding. Above that, a tap lets you siphon off the liquid — handy for collecting worm tea without any fuss.
There’s also a white V-board that sits over the top of the bin, letting light through onto the bedding.
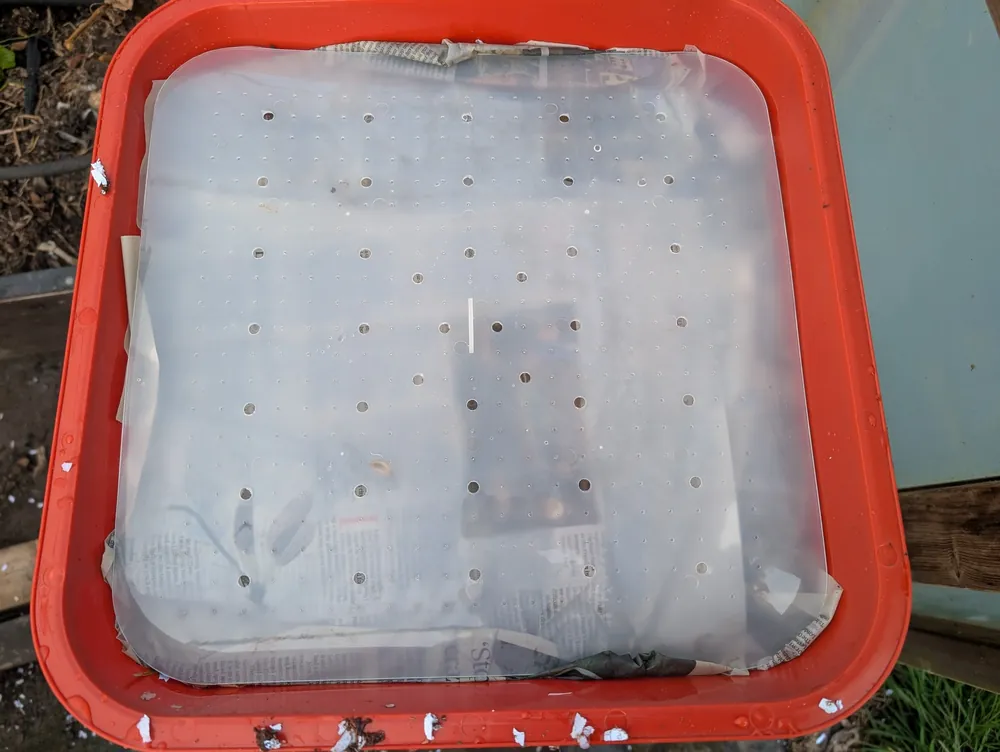
The idea is that newly transferred worms won’t try to escape — they move away from the light and settle into their new home. Whether it would stop them escaping after dark is another matter, but it seems to do its job during the day.
Assembly & setup: easier than expected
The instructions are fantastic — not just clear, but presented as a proper little booklet that doubles as a how-to guide to worm farming.
Wind aside, the whole bin came together without any tools, and I’d estimate five minutes if you’re not stopping to take observations or retrieve parts from the garden.
Getting the bedding ready takes a little longer. The coconut coir that’s included — so there’s nothing extra to buy — took longer than 20 minutes to fully dissolve in water. My advice: set it soaking and go do something else.
The instructions suggest mixing in garden soil, shredded newspaper, shredded cardboard, egg cartons, crushed eggshells and/or dry leaves or brown grass.
There could have been a few more “and/or”s in there — they’re all good materials, but you certainly don’t need all of them. In my experience, shredded paper, straw and a bit of compost work just as well.
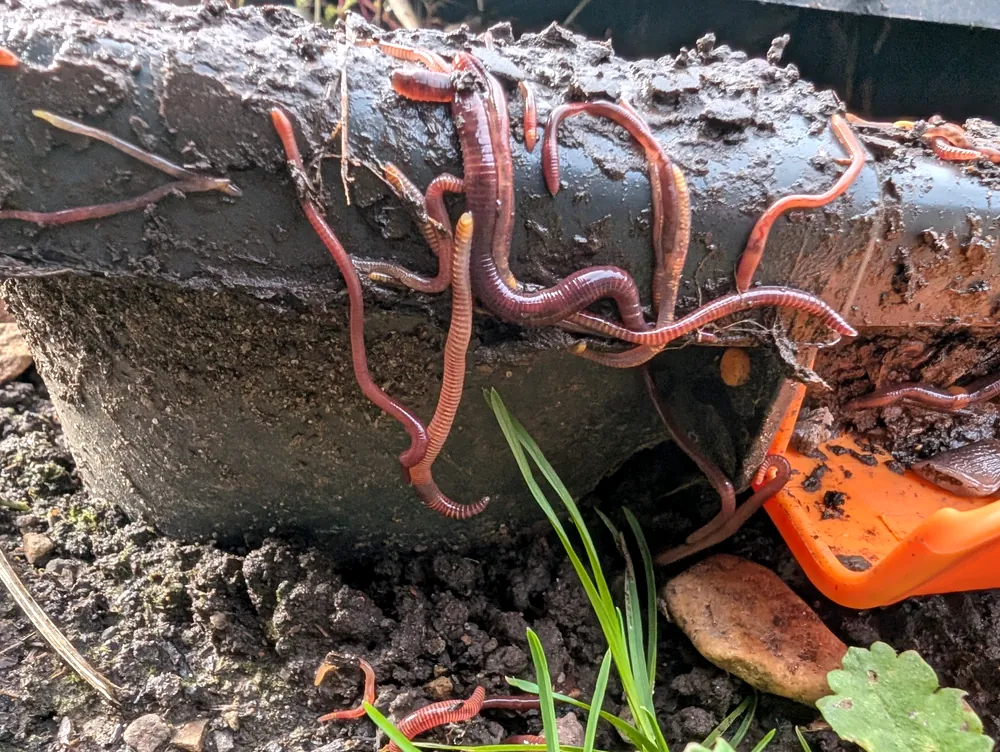
Once the bedding was ready, I transferred a few handfuls of worms from my homemade bin and my submerged bin.
I was tempted to throw in some wild worms too — I’m fairly sure a few have made their way into the submerged bin already. Technically you’re not supposed to, in case of disease, but I suspect those concerns are somewhat overstated — or at least partly driven by worm sellers who’d rather you bought theirs.
If you do need to buy worms, I’d suggest Yorkshire Worms if you’re in the UK, or Uncle Jim’s Worm Farm if you’re in the US — they’re reliable and well-regarded.
Uncle Jim's Worm Farm is probably the best known and most respected supplier of worms in the USA, making them a solid choice for new and experienced worm composters alike.

Important limitations to consider
The thing I’m watching most closely right now is the cold. It’s the end of winter, and even in my polytunnel, there’s a real chance temperatures will drop below freezing.
My worms have survived every winter in my homemade bins — not always in top numbers, but present and active again by spring, even on warmer days mid-winter.
Part of that is probably the depth: when it gets cold, the worms can go deeper to find warmer conditions, and decomposition itself generates a little heat.
The VermiHut doesn’t offer the same depth. The improved airflow is clearly an advantage in warmer months, but I do wonder whether that shallower, more open design would struggle through a hard winter without some additional insulation or heat.
If you’re keeping your worms indoors or using a heat mat, it won’t be an issue. But if you’re in a colder climate or a semi-exposed spot, it’s worth thinking about.
The verdict
While testing is still ongoing, the VermiHut is easy to put together and clearly superior to my homemade bin in several respects — airflow, ease of use and ant deterrence in particular.
That said, it’s equally clear that this bin is designed for indoor or sheltered use. If you need something that can tough it out in exposed conditions year-round, my homemade setup still wins on durability. Watch this space for a long-term update.
Full pros & cons
Technical details & specifications
See the full specs
What’s included
- 5 trays
- Coconut coir (worm bedding)
- Claw, scraper, liquid collection cup, worm food magnet
- M-board (airflow)
- V-board (odour/moisture control, built into lid)
- “Shoes” (ant prevention for base)
- Liquid collection tray (integrated with base)
Assembly experience
- Assembly time: ~5 minutes (without observations)
- Difficulty: Very easy
- Tools required: None
Design & build quality
- Material: Plastic
- Wall thickness: 3.9mm (caliper measurement)
- Insulation: None
- Ventilation: Four large holes in base for upward airflow — a standout feature
- Ant prevention: Water-filled leg traps
- Worm saver: Included — keeps worms in bedding while allowing juice to drain
- Spigot: Yes — for easy worm tea collection
- V-board: Light-permeable board over top to discourage worm escape
Size & capacity
- Dimensions: 43.2 x 43.2 x 83.8cm
- Trays: 5 (expandable)
- My experience: Contents of box spread across a full picnic table — more than you’d expect for the box size
Suitability
- Indoor use: Yes
- Outdoor use: Sheltered only (garage, shed, polytunnel)
- Cold weather: Not recommended without heat mat or insulation in exposed conditions
- Price: ~£124.25
Related posts
- DIY worm composting bin
How I built my own worm bin — a budget-friendly alternative if you’d rather go homemade. - How to add worms to a compost bin
Practical advice on getting your worm population started, including how many to buy and what to feed them first. - Worms in compost: everything you need to know
A deep dive into how worms work in a composting system and why they’re so effective at breaking down organic matter. - The magic of worm castings and how to use them
What to do with the incredible compost your worms produce — and why it’s worth the effort. - How to avoid ants in your compost bin
If the VermiHut’s ant-prevention legs caught your eye, this article goes deeper into why ants are attracted to bins and how to stop them.