I’ve long been fascinated by the Subpod
If you haven’t seen this before, it’s a vermicomposting bin which is often sunk into the ground.
Fans of the system rave about it, saying that in addition to making compost, it improves the soil around the bin as worms move in and out of the bin. On the other hand, critics often think it’s expensive.
I’ve personally found it hard to justify the cost at a time when two kids going through higher education are draining my budget, and if you’ve read Compost Magazine for a while you’ll know we’re often trying out low cost ways to make compost.
So with that in mind, I wanted to experiment with a home-made submerged vermicomposting bin – and see if it will work in my wet climate!
Why set up a submerged compost bin ?
Winter isn’t great for worm composting.
Mine have survived through several (not very harsh) winters, but numbers drop, activity slows and they bury deeper into the material.
I’m hoping that the soil that surrounds the
I’m also interested in whether it will improve the soil around the bin.
What I’m worried about is the risk of the bin flooding, especially given the amount of rain we get in not-so-sunny Wales.
What you need to make it
I used a cheap storage bin as the basis for my
While I often recommend products on Amazon (it’s partly how we fund this publication), in the UK storage bins on Amazon are very expensive, so I picked mine up in a discount store.
The ones I use are Kingsman – I used these a few years ago to make my main worm composting set up, and they’re still going strong.
If you’re using a different brand, the main thing you want to ensure is that your storage bin:
- Is NOT transparent, as worm’s don’t like light
- Is sturdy
- Has a removable lid
I use a 42 litre box, but you can go smaller or larger depending on how much you want to compost.
Beyond that, all you need is a drill and some drill pieces!
How to make it
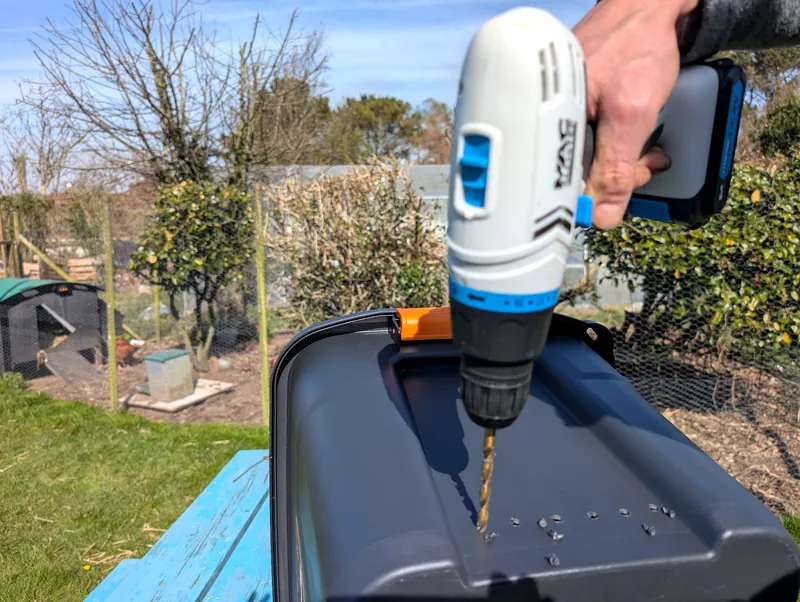
Drill a series of holes in the bottom of the storage bin – I used the biggest drill bit I had, and drilled as many as I though I could get away with.

Drill a series of holes all around the sides of the bin using a ¼ inch drill bit. Place these just above the base to ensure they are covered by soil.
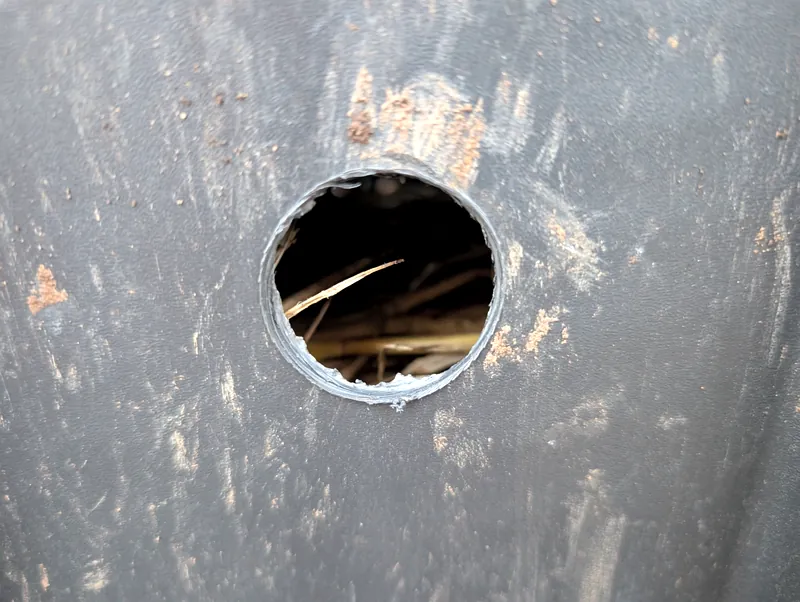
Add some larger holes in the side of the bin, above the first ones. Ensure they are still in the bottom half of the bin to ensure they are covered by the soil.
(Note – this was a design change I made after I put the bin in the soil, as I was worried about lack of airflow – hence the mud around the hole.)
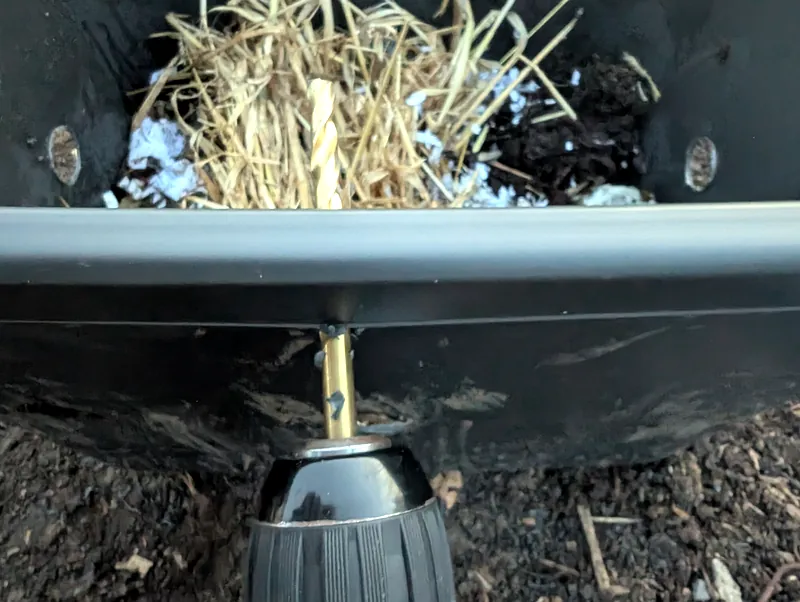
Optionally drill holes at the top. I did this where the lid overlaps the side of the bin, as I’ve been worried about rain getting in. This will allow flies in, but I wanted to ensure maximum aeration.
Again, this was a design change I made later, hence the bedding in the picture!
Dig the hole where you want the bin to be. Remove any sharp stones, and ensure there are smaller stones underneath to aid with drainage. Then place the bin in the hole and pile the soil up around it.
Setting the bin up: Bedding and food
Worms can work with many different bedding materials.
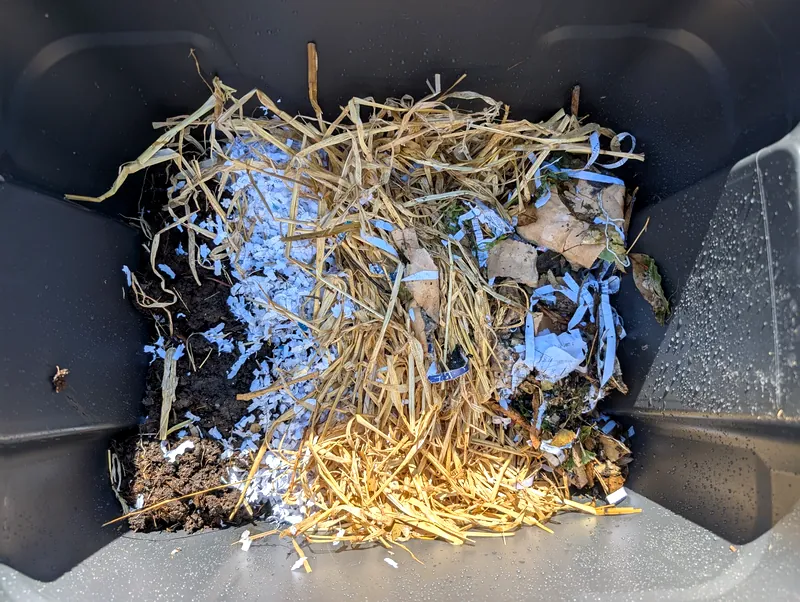
I’m currently trying different bedding materials because I am research which bedding worms prefer for a different article. The materials I am using with this bin are:
- Compost from my pallet bin (bonus – there were already some worms in this!)
- Straw (I’ve noticed worms tend to prefer this as it gets older, probably because it picks up the bacteria they love eating)
- Shredded paper
- Shredded cardboard
However, do choose whatever bedding is readily available for you.
I soaked the bedding and placed it in the bin well before adding the worms, as I wanted to give time for the chlorine to dissipate.
I also added a little bit of food under the bedding – some coffee grounds and some kitchen waste from my existing
Finally, as it was still late winter when I finished setting this up, I added a layer of straw on top for insulation.
And a few days after I set the bin up, I added the worms. Being in the UK, I used Yorkshire Worms (aff link), but if I was in the USA I’d use Uncle Jim’s worm farm.
Uncle Jim's Worm Farm is probably the best known and most respected supplier of worms in the USA, making them a solid choice for new and experienced worm composters alike.

What’s happened next
It’s now at the end of February, nearly 10 months after I started writing this article – and I have positive news to report:
- Inside the bin may be damper than is ideal, but there’s no sign of flooding. That’s despite the fact that we’ve had one of the wettest winters in Wales for years (with only two dry days since the 1st January.)
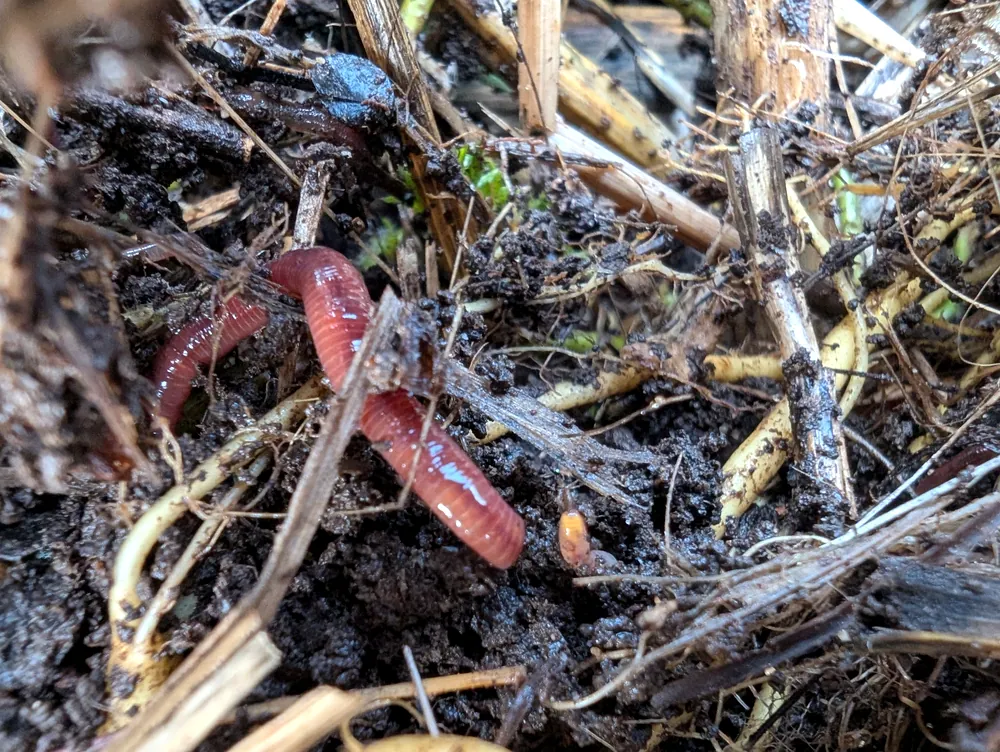
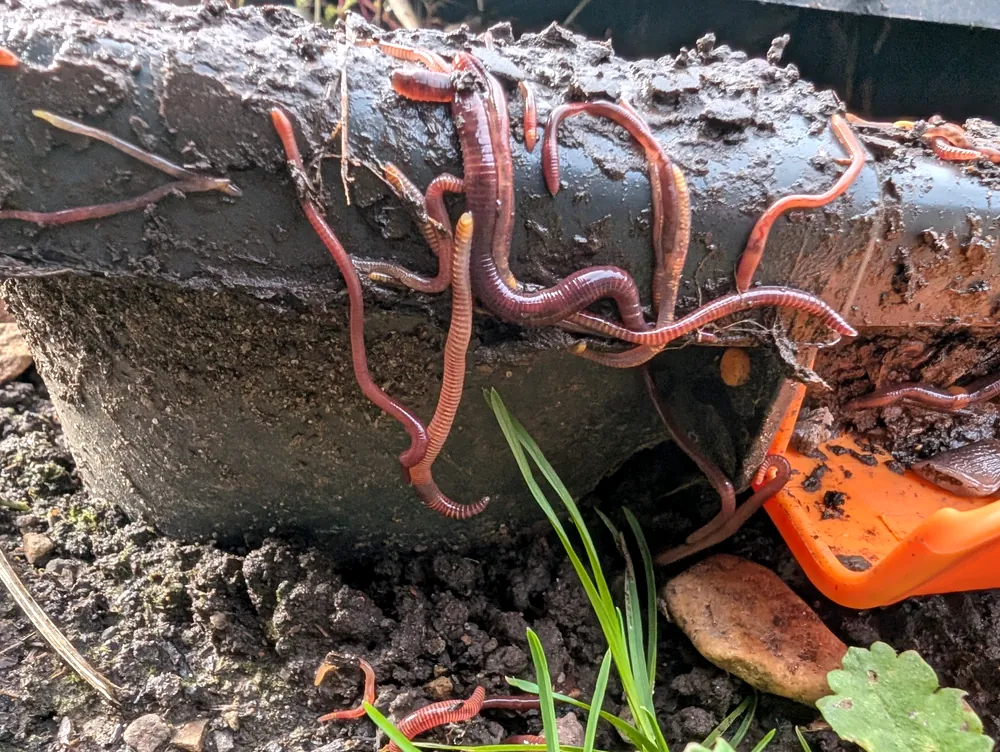
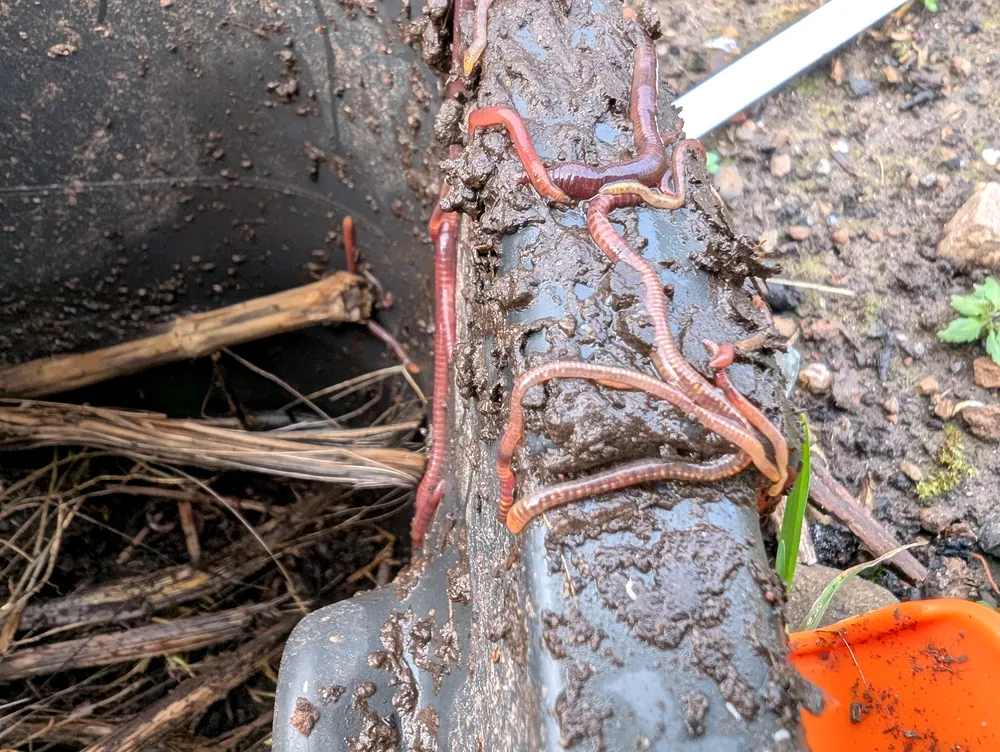
- The bin is thriving with life. There are some worms in the bin and more on the side of the bin – perhaps because it’s the first dry, mild day in while. (There are lots of woodlice too. That’s great news, as woodlice increase the quality of worm compost).
- I have noticed worms half and half out of the bin – they clearly move in and out of it, hopefully spreading their goodness around the soil.
Note that apart from occasionally putting some food or pulled weeds in, I have almost completely neglected the bin. So for a low effort, low maintenance way to improve soil, this seems hard to beat.
Related articles
DIY Worm Composting Bin If you’d rather keep your worm bin above ground, this guide walks you through building your own setup from scratch – same low-cost philosophy, different approach.
Our Top
Worms in Compost A deeper look at how worms work within a compost system – useful background if you want to understand what’s actually happening inside your submerged bin.
Do Compost Worms Die in Winter? One of the main reasons I built this bin was to protect worms through cold weather. This article tackles the winter survival question head on.
The Magic of Worm Castings The whole point of all this effort is the end product. Here’s what worm castings actually do for your soil, and how to use them effectively.
DIY Pallet Compost Bin If you want a complementary above-ground system to run alongside your submerged bin, this is the one I use myself.